Hoover PowerDash Pet Carpet Cleaner Manual: A Comprehensive Guide
This comprehensive guide details assembly, operation, and maintenance for your Hoover PowerDash Pet. Explore troubleshooting, cleaning tips, and model-specific details for optimal performance.
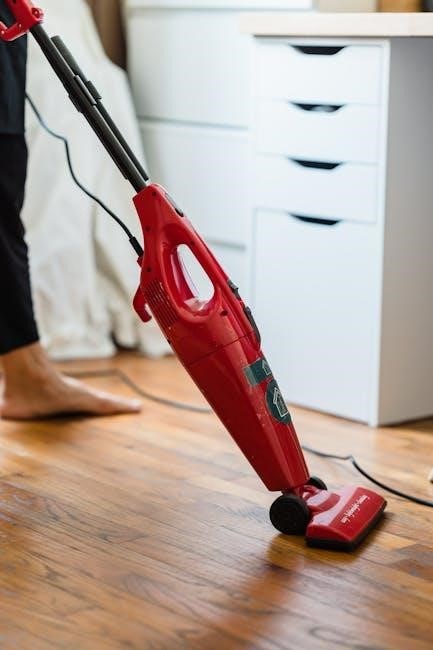
The Hoover PowerDash Pet is a compact and powerful carpet cleaner designed specifically to tackle pet messes and everyday spills. This manual serves as your guide to unlocking its full potential, ensuring a consistently clean and fresh home environment. Whether you’re dealing with muddy paw prints, stubborn stains, or simply want to revitalize your carpets, the PowerDash Pet offers a convenient and effective solution.
This versatile appliance isn’t just for carpets; it’s also adept at cleaning upholstery, spot cleaning, and refreshing area rugs. Understanding its features and following the instructions within this manual will maximize its cleaning performance and extend its lifespan. From initial setup to advanced cleaning techniques, we’ll cover everything you need to know to achieve professional-level results in the comfort of your own home. Explore user guides and review videos for enhanced understanding.
Understanding the Key Features
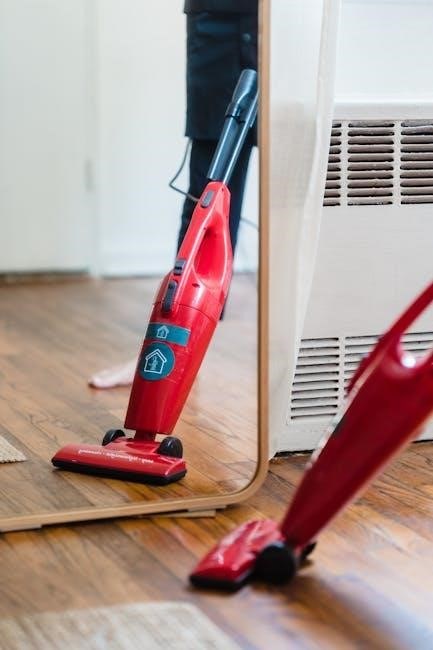
The Hoover PowerDash Pet boasts several key features designed for efficient and effective cleaning. Its compact design allows for easy storage and maneuverability, while the powerful suction and rotating brushroll lift and remove embedded dirt and stains. Specialized pet cleaning solutions enhance stain removal, targeting odors and allergens left behind by furry friends.
Different models, like the FH50700 and FH55000 Advanced, offer varying features, including enhanced cleaning modes and specialized attachments. The dual tank system keeps clean and dirty water separate, preventing re-soiling of your carpets. Quick-drying technology minimizes downtime, allowing you to enjoy clean carpets sooner. Understanding these features, and consulting the model-specific manual details, will help you tailor your cleaning approach for optimal results. Explore the Power Scrub Elite Pet and CleanSlate Pet options.
Safety Precautions and Warnings
Prioritize safety when operating your Hoover PowerDash Pet. Always disconnect the cleaner from the power outlet before performing any maintenance or troubleshooting; Never operate the device with a damaged cord or plug. Avoid using outdoors or on wet surfaces to prevent electric shock.
Keep children and pets away during operation. Do not direct the spray nozzle towards people or animals. Use only Hoover-approved cleaning solutions to avoid damaging the machine or creating hazardous fumes. Ensure proper ventilation during and after cleaning. Never immerse the cleaner in water. Refer to the manual for specific warnings regarding flammable liquids and proper disposal of waste water. Ignoring these precautions could result in injury or damage.
Setting Up Your PowerDash Pet
Proper setup is crucial for effective cleaning. This section guides you through unboxing, assembly, and filling the water tanks for optimal performance.
Unboxing and Component Identification
Upon opening the box, carefully remove all components and verify their presence against the included parts list. You should find the PowerDash Pet unit itself, the cleaning solution tank, the dirty water tank, a sample of cleaning solution, a specialized pet tool, and potentially a user manual or quick start guide.
Inspect each part for any shipping damage before proceeding. The main unit houses the motor, brushroll, and spray nozzles. The clean water tank is typically translucent, allowing you to monitor the solution level. The dirty water tank is designed to contain the extracted grime. Familiarize yourself with the location of the power switch, solution trigger, and tank release mechanisms. Retain the packaging for potential future use or returns. Knowing your components ensures a smooth setup and operation.
Initial Assembly Instructions
Begin by securely attaching the clean and dirty water tanks to the PowerDash Pet unit. Ensure they click firmly into place; a proper seal is crucial to prevent leaks during operation. Next, if applicable, connect any included hoses or attachments, such as the pet tool, to the designated ports on the machine.
Double-check all connections to confirm they are snug and secure. Refer to the diagrams in your user manual for visual guidance if needed. Avoid forcing any parts, as this could cause damage. Once the tanks and attachments are properly installed, the PowerDash Pet is mechanically assembled and ready for filling with cleaning solution and water. A correctly assembled unit is essential for effective and safe carpet cleaning.
Filling the Clean and Dirty Water Tanks
To begin, remove the clean water tank and fill it with warm tap water and the appropriate Hoover cleaning solution, following the solution’s dilution instructions precisely. Overfilling can cause operational issues, so adhere to the maximum fill line indicated on the tank. The dirty water tank, conversely, requires no pre-filling; it collects the soiled water extracted during cleaning.
Ensure the tanks are securely replaced after filling. A proper seal prevents spills and maintains suction. Always use a cleaning solution specifically designed for carpet cleaners to avoid damaging the machine or your carpets. Never mix different cleaning solutions. Regularly check the water levels during extended cleaning sessions and refill as needed for optimal performance.
Operating Instructions
Proper operation involves pre-cleaning, selecting the correct solution, and utilizing appropriate cleaning modes for effective stain removal and carpet revitalization.
Pre-Cleaning Preparation: Vacuuming
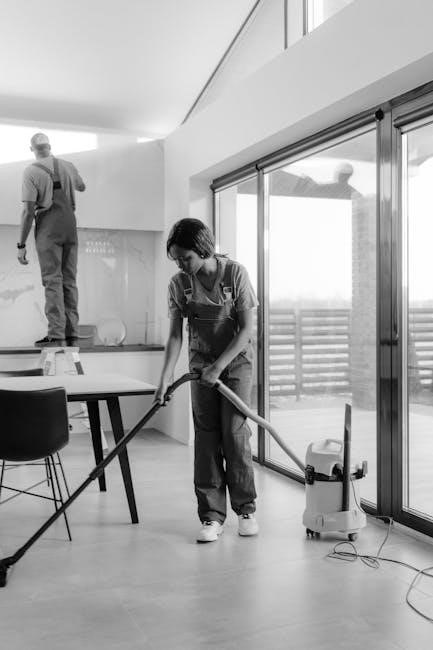
Before utilizing the Hoover PowerDash Pet, thorough pre-cleaning via vacuuming is absolutely essential for optimal results. Removing loose debris, dirt, and pet hair significantly enhances the cleaner’s effectiveness, preventing clogging and ensuring deeper cleaning penetration. Utilize a Hoover vacuum cleaner, if possible, for a seamless cleaning experience.
Focus on high-traffic areas and spots prone to accumulating dirt. Vacuuming not only prepares the carpet for the cleaning solution but also protects the PowerDash’s internal components from potential damage caused by larger particles. Remember, the PowerDash is designed for cleaning, not as a replacement for a traditional vacuum. A well-vacuumed carpet will yield visibly cleaner results and extend the life of your PowerDash Pet.
Selecting the Appropriate Cleaning Solution
Choosing the right cleaning solution is crucial for achieving optimal results with your Hoover PowerDash Pet. While the machine is compatible with various solutions, using a formula specifically designed for carpet cleaners is highly recommended. Hoover’s CleanSlate Pet Carpet & Upholstery Spot Cleaner (FH14000) is an excellent choice, particularly for pet-related messes, effectively tackling odors and stains.
Avoid using excessive amounts of solution, as this can lead to residue buildup and prolonged drying times. Always follow the dilution instructions provided on the cleaning solution’s label. Using too strong a concentration can potentially damage your carpet or the machine itself. Consider the type of stain and carpet fiber when selecting a solution for targeted cleaning power.
Cleaning Modes and Settings Explained
The Hoover PowerDash Pet offers versatile cleaning modes to tackle various messes. The standard “Quick Clean” mode is ideal for light, everyday cleaning and refreshing carpets. For deeper cleaning and stain removal, utilize the “Deep Clean” mode, which increases brushroll speed and solution dispensing. The “Spot Clean” function delivers a concentrated spray for targeted stain treatment, perfect for spills and pet accidents.
Adjust the heat settings to suit your carpet type; lower heat is recommended for delicate fibers. The machine features a trigger control for dispensing cleaning solution – release the trigger to focus on suction for efficient water extraction. Understanding these settings allows you to customize your cleaning experience, ensuring effective stain removal and optimal carpet care.
Maintenance and Troubleshooting
Regular maintenance ensures peak performance. This section covers brushroll cleaning, tank emptying, and solutions for common issues like clogs or power failures.
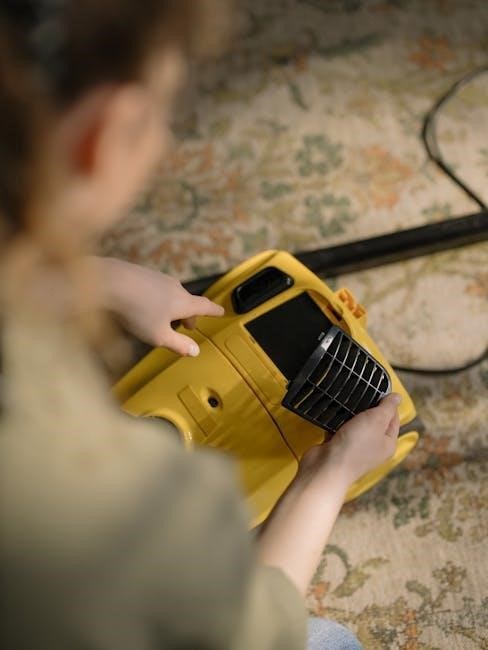
Cleaning the Brushroll and Nozzle
Maintaining a clean brushroll is crucial for effective carpet cleaning. After each use, or if you notice reduced suction, disconnect the PowerDash Pet from power. Carefully remove the brushroll according to the manual’s instructions – typically involving a release latch. Inspect the brushroll for tangled hair, fibers, and debris. Use scissors or a seam ripper to carefully cut and remove these obstructions, avoiding damage to the bristles.
Next, clean the nozzle. Check for blockages in the spray nozzles and suction pathway. A small brush or toothpick can help dislodge any buildup. Ensure the nozzle is free from debris to maintain optimal cleaning performance. Regularly inspecting and cleaning these components prevents reduced cleaning power and extends the lifespan of your Hoover PowerDash Pet.
Emptying and Cleaning the Water Tanks
Properly emptying and cleaning both the clean and dirty water tanks is essential for hygiene and optimal performance. After each use, remove both tanks from the PowerDash Pet. The dirty water tank will contain soiled water and debris – carefully dispose of this down a drain, avoiding spillage. Rinse the tank thoroughly with warm water, removing any remaining residue.
The clean water tank should also be emptied and rinsed after each use to prevent mold or mildew growth. Inspect both tanks for any blockages or buildup. Periodically, use a mild detergent to clean the tanks more thoroughly, ensuring it’s fully rinsed before reuse; Maintaining clean tanks ensures fresh cleaning solution and prevents contamination.
Common Issues and Solutions (PowerDash Pet Advanced)
If your PowerDash Pet Advanced experiences loss of suction, first check the brushroll for obstructions like hair or fibers – remove any tangled debris. A clogged nozzle can also reduce suction; inspect and clear it. If the machine isn’t dispensing cleaning solution, ensure the clean water tank isn’t empty and the solution valve is open.
For power issues, verify the unit is securely plugged into a working outlet. If the brushroll isn’t spinning, check the belt for breakage or slippage and replace if necessary. Persistent issues may indicate a blocked hose or a faulty motor; consult the full manual or Hoover support for further assistance. Regular maintenance prevents many problems.
Replacing Parts: Brushroll, Belts, and Filters
Maintaining optimal performance requires periodic part replacement. To replace the brushroll, detach the nozzle and carefully remove the old brushroll, noting its orientation. Install the new brushroll, ensuring proper alignment. The belt, often requiring nozzle disassembly, should be inspected for wear and replaced if cracked or stretched. A worn belt causes reduced brushroll speed.
Filters are crucial for preventing debris from damaging the motor. Locate and remove the filter(s) – typically found in the clean water tank area – and replace with new ones. Regular filter changes (every 3-6 months) extend the cleaner’s lifespan. Replacement parts are readily available online and through authorized Hoover retailers.
Advanced Features & Tips
Unlock the full potential of your PowerDash Pet with spot cleaning and upholstery techniques, maximizing cleaning power for a pristine home environment.
Spot Cleaning with the PowerDash Pet
The PowerDash Pet excels at tackling fresh spills and stains quickly and efficiently. For optimal results, pre-treat the affected area with a suitable carpet cleaning solution, allowing it to dwell for a few minutes to loosen the stain. Attach the handheld spot cleaning tool to the PowerDash Pet, ensuring a secure connection.
Select the appropriate cleaning mode – often a ‘Spot Clean’ or ‘Quick Clean’ setting is ideal. Gently apply the cleaning solution to the stain, using slow, overlapping motions. Avoid over-saturating the carpet. Utilize the powerful suction of the PowerDash Pet to extract the dirty water and cleaning solution. Repeat the process if necessary, until the stain is visibly removed. Remember to rinse the spot cleaning tool thoroughly after each use to prevent buildup and maintain optimal performance. This targeted approach minimizes water usage and drying time, leaving your carpets looking refreshed.
Upholstery Cleaning Techniques
The Hoover PowerDash Pet isn’t limited to carpets; it’s also effective on upholstery! Before starting, always check the furniture’s cleaning code – ‘W’ for water-based cleaners, ‘S’ for solvent-based, and ‘WS’ for either. For ‘W’ or ‘WS’ fabrics, attach the appropriate upholstery tool to the PowerDash Pet. Lightly mist the upholstery with a diluted carpet cleaning solution, avoiding over-saturation which can cause damage.
Use gentle, overlapping strokes with the upholstery tool, allowing the machine’s suction to lift dirt and stains. Test the solution in an inconspicuous area first to ensure colorfastness. Avoid applying excessive pressure. For delicate fabrics, consider using a lower suction setting. After cleaning, allow the upholstery to air dry completely, avoiding direct sunlight. Regularly cleaning upholstery extends its lifespan and keeps it looking fresh. Remember to clean the upholstery tool after each use.
Maximizing Cleaning Performance
To achieve the best results with your Hoover PowerDash Pet, pre-treating heavily soiled areas is crucial. Apply a stain remover specifically designed for carpets and upholstery, allowing it to dwell for the recommended time before using the machine. Always vacuum thoroughly before wet cleaning to remove loose debris, preventing it from being ground in during the cleaning process.
Use the appropriate cleaning solution for your specific needs – the Hoover CleanSlate Pet solution is excellent for pet messes. Ensure the brushroll is clean and rotating freely. Employ slower, overlapping passes for deeper cleaning, and allow sufficient drying time. Regularly emptying the dirty water tank prevents re-soiling. Consider multiple passes for stubborn stains. Proper maintenance, like filter cleaning, also significantly boosts performance.
Model Specific Information
Explore details for the FH50700 and Advanced models, including troubleshooting guides and unique features. Access specific manual details for optimal usage.
Hoover FH50700 Manual Details
The Hoover FH50700 PowerDash Pet Compact Carpet Cleaner boasts a user-friendly design, making carpet cleaning accessible for everyone. Online resources, including readily available PDF manuals, provide comprehensive instructions for assembly, operation, and maintenance. These manuals detail component identification, ensuring proper setup. Users can find guidance on filling both the clean and dirty water tanks, crucial for effective cleaning.
The manual emphasizes pre-cleaning preparation, specifically thorough vacuuming to remove loose debris; It also guides users in selecting the appropriate cleaning solution for optimal results. Detailed explanations of cleaning modes and settings allow for customized cleaning based on carpet type and soil level. Furthermore, the FH50700 manual provides essential safety precautions and warnings to ensure safe operation. Accessing the manual online is straightforward, offering convenient support for all users.
PowerDash Pet Advanced Troubleshooting
Addressing common issues with the PowerDash Pet Advanced often begins with the brushroll. If it’s not spinning, check for obstructions like hair or fibers, and ensure the belt is correctly positioned and intact. For power-related problems, verify the unit is securely plugged in and the power switch is engaged. If the machine isn’t picking up solution, inspect the intake valve and hoses for blockages.
The Hoover Helps playlist offers valuable video tutorials demonstrating brush and belt replacement, aiding in self-repair. Regularly emptying and cleaning the water tanks prevents performance decline. If issues persist, consult the full user manual or Hoover’s support resources for more detailed troubleshooting steps. Remember to always unplug the device before performing any maintenance or repairs.