Discover a world of organization with wooden toy box plans! Numerous free PDF options and paid resources exist, offering diverse designs for weekend projects.
Explore 20+ free plans, including step-by-step guides, diagrams, and material lists, perfect for beginners seeking accessible DIY solutions.
Find inspiration from 12 free plans, 25 projects, and modern designs with soft-close lids, all readily available online for immediate building!
Why Build a Wooden Toy Box?
Building a wooden toy box offers a fantastic solution to cluttered play areas, promoting organization and instilling good habits in children. DIY plans, especially PDF versions, empower you to create a custom storage solution tailored to your space and aesthetic preferences.
Beyond tidiness, a handcrafted toy box adds a personal touch to a nursery or playroom. Free plans allow budget-conscious builders to enjoy the benefits, while paid plans often provide more intricate designs and detailed instructions.
Ultimately, constructing a toy box is a rewarding project, fostering creativity and providing a durable, long-lasting storage solution for cherished toys.
Benefits of Using PDF Plans
PDF plans for wooden toy boxes offer unparalleled convenience and accessibility. Easily downloadable and printable, they eliminate the need for costly physical blueprints. Detailed diagrams, material lists, and step-by-step instructions are readily available, guiding builders through each stage of the project.
These plans often include cutting lists, ensuring efficient wood usage and minimizing waste. Free and paid PDF options cater to all skill levels, from beginner-friendly designs to more complex builds.
Digital format allows for easy zooming and referencing during construction, enhancing accuracy and simplifying the building process.
Essential Tools and Materials
Building a wooden toy box requires basic tools: a saw, drill, and sander. Materials include pine, plywood, or hardwoods, plus screws, and finishing supplies.
Common boards like 1x6x8 and 2x3x8 are frequently used, alongside quarter-inch plywood for specific components.
Don’t forget a handle of your choice to complete the project!
Wood Selection: Pine, Plywood, and Hardwoods
Choosing the right wood is crucial. Pine is affordable and easy to work with, ideal for beginners, but less durable. Plywood offers stability and cost-effectiveness, suitable for sides and bases.
Hardwoods like oak or maple provide superior strength and aesthetics, perfect for a long-lasting heirloom piece, though they are more expensive and require more skill to work with.
Consider the project’s budget and desired lifespan when selecting materials; six 1x6x8 boards are often a starting point.
Tools Required: Saw, Drill, Sander, and More
Essential tools include a saw (circular or hand saw) for accurate cuts, a drill with various bits for assembly, and a sander to achieve smooth surfaces.
Additional helpful tools are a measuring tape, square, clamps, and safety glasses. Weighted tool chests aid portability for smaller shops.
Consider a jigsaw for curved cuts and a finishing nailer for detailed work, depending on the plan’s complexity.
Types of Wooden Toy Box Plans
Discover diverse plans: simple hinged lid designs, lift-top mechanisms for easy access, and bench-style boxes offering comfortable seating alongside storage solutions!
Explore options ranging from basic builds to more complex projects with tiered storage and integrated ride-on features.
Simple Hinged Lid Toy Box Plans
These plans represent the classic approach to toy storage, focusing on ease of construction and functionality. Typically, they utilize readily available lumber like pine or plywood, making them budget-friendly.
Expect straightforward cuts and assembly, ideal for beginner woodworkers. Free PDF plans often showcase this style, emphasizing a basic box structure with a hinged lid for convenient access to toys.
Customization is simple – paint, stain, or add decorative elements to personalize the box!
Toy Chest with Lift-Top Mechanism Plans
Lift-top plans offer a space-saving solution, eliminating swing-out lid interference. These plans often incorporate hinges or gas struts to provide smooth, controlled lifting and lowering.
PDF resources detail the mechanism installation, requiring slightly more precision than hinged lid designs. Expect a focus on safety, with considerations for preventing accidental slamming.
Modern designs frequently feature soft-close mechanisms for added child safety and convenience!
Bench-Style Toy Box Plans with Seating
Bench-style plans combine toy storage with functional seating, ideal for playrooms or bedrooms. PDF guides showcase designs ranging from simple to elaborate, often incorporating sturdy construction for weight-bearing capacity.
Expect detailed instructions on building a robust frame and a hinged or removable lid for access to storage. These plans prioritize safety, ensuring smooth operation and preventing pinching.
Many designs include comfortable seating surfaces, enhancing the toy box’s versatility!
Free vs. Paid Wooden Toy Box Plans
Free plans offer accessible starting points, while paid plans often provide greater detail, unique designs, and enhanced support for PDF projects.
Consider your skill level and desired complexity when choosing between readily available free resources and more comprehensive paid options.
Advantages of Free Plans
Free wooden toy box plans are an excellent entry point for beginner woodworkers, offering a low-risk way to learn basic construction techniques. PDF downloads provide immediate access to numerous designs, fostering creativity without financial commitment.
Explore a wide variety of styles, from simple hinged-lid boxes to more elaborate designs, allowing you to experiment and build confidence. Resources like online forums and video tutorials complement these plans, offering guidance and support throughout the building process.
Benefits of Investing in Paid Plans
Paid wooden toy box plans (PDF) often deliver a higher level of detail and precision, including professionally drafted diagrams and comprehensive material lists. Etsy and online marketplaces offer plans for unique, stylish designs not found in free resources.
Investing in paid plans can save time and reduce errors, with clearer instructions and potentially video support. Expect access to advanced features like soft-close mechanisms and two-tier designs, enhancing functionality and aesthetics.
Step-by-Step Building Process (General)
Begin by precisely cutting wood according to your chosen PDF plans. Assemble sides and the base, then securely attach the lid using hinges for a finished box!
Cutting the Wood According to Plans
Carefully review your selected wooden toy box plans PDF for precise dimensions. Utilize a saw to cut boards – commonly 1×6, 2×3, and plywood – ensuring accuracy.
Double-check measurements before each cut to minimize errors and waste. Prioritize safety by wearing appropriate gear and following safe cutting practices. Accurate cuts are crucial for a well-fitted toy box!
Assembling the Toy Box Sides and Base
Following your wooden toy box plans PDF, begin assembling the sides and base. Employ screws or nails to securely join the cut wood pieces, ensuring square corners.
Utilize wood glue in addition to fasteners for enhanced stability and durability. Regularly check for squareness during assembly, adjusting as needed. A solid base is fundamental for a robust toy box structure.
Attaching the Lid and Hinges
Referencing your wooden toy box plans PDF, carefully position the lid onto the assembled box. Securely attach hinges, ensuring proper alignment for smooth operation.
Consider soft-close hinges for child safety, preventing accidental slamming. Pre-drill pilot holes to avoid wood splitting during screw insertion. Test the lid’s movement repeatedly for optimal functionality.
Safety Considerations
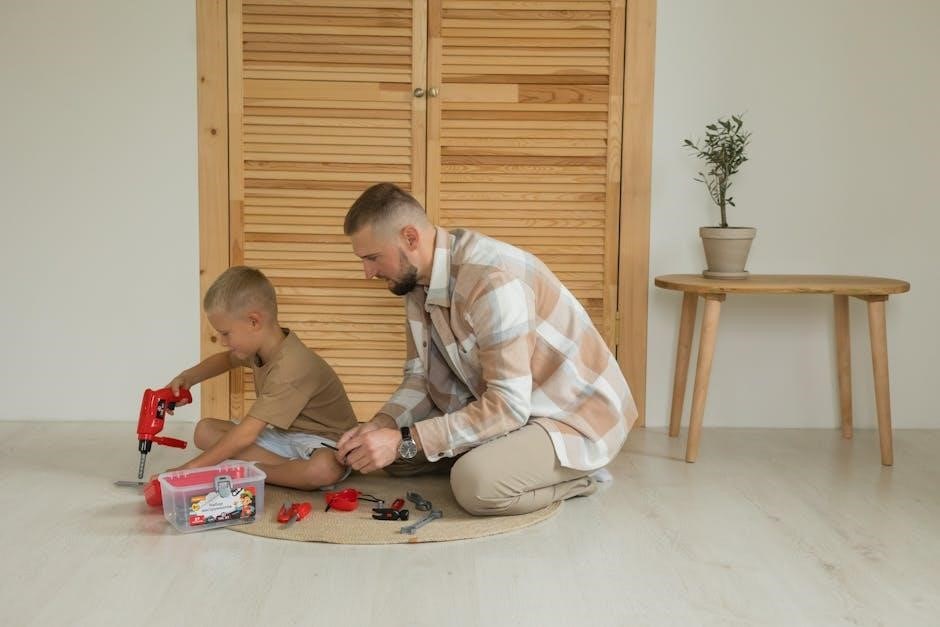
Prioritize safety! Utilize woodworking gear like safety glasses and dust masks. Employ soft-close hinges to prevent injuries, especially for little fingers.
Woodworking Safety Gear
Essential safety gear is paramount when building with wooden toy box plans. Always wear safety glasses to protect your eyes from flying debris during cutting and sanding.
A dust mask or respirator is crucial to avoid inhaling harmful wood particles. Consider hearing protection when operating loud power tools. Gloves can prevent splinters and improve grip.
Ensure a safe workspace, free from clutter, and proper ventilation for finishing products. Prioritize your well-being throughout the entire building process!
Soft-Close Hinges for Child Safety
Implementing soft-close hinges is a vital safety feature when constructing a wooden toy box. These hinges prevent slamming lids, protecting little fingers from painful pinches and potential injuries.
Modern toy box plans frequently incorporate this feature, ensuring a gentle and controlled closing motion. Prioritize child safety by selecting high-quality, reliable soft-close mechanisms.
Investing in these hinges offers peace of mind, knowing your creation is both functional and safe for your children’s playtime adventures!
Customization Options
Unleash creativity! Personalize your wooden toy box with paint, decals, or even a child’s name. Finishing techniques add unique flair and lasting beauty.
Transform a simple build into a cherished keepsake reflecting your style and your child’s personality!
Painting and Finishing Techniques
Elevate your wooden toy box with vibrant colors and protective finishes! Consider using non-toxic paints and sealers, ensuring child safety is paramount. Explore techniques like staining for a classic look, or layering multiple paint colors for a playful design.
Apply a durable polyurethane coat to resist scratches and spills, extending the toy box’s lifespan. Experiment with distressing techniques for a vintage charm, or add decorative stencils for personalized flair!
Adding Personal Touches: Decals, Names
Transform your wooden toy box into a cherished keepsake with personalized details! Apply vinyl decals featuring favorite characters or themes, instantly adding a playful touch. Consider painting the child’s name directly onto the box for a unique, heartfelt gift.
Utilize stencils for neat lettering, or freehand a whimsical design. Incorporate colorful knobs or handles to complement the overall aesthetic, creating a truly special storage solution!
Where to Find Wooden Toy Box Plans (PDF)
Access numerous PDF plans on websites like Etsy and others! Discover free options alongside paid, detailed designs for diverse DIY toy box projects.
Popular Websites Offering Free Plans
Numerous online platforms generously provide free wooden toy box plans in PDF format. These resources often feature easy-to-follow instructions, detailed diagrams, and material lists, ideal for beginner woodworkers.
Explore websites showcasing 20+ free plans, offering a variety of styles and complexities. Discover projects ranging from simple hinged-lid designs to more elaborate bench-style chests, all readily downloadable for immediate use.
Utilize these free resources to kickstart your DIY toy storage solution, saving both time and money while building a functional and charming addition to any child’s room.
Etsy and Other Online Marketplaces for Paid Plans
Etsy emerges as a prominent marketplace for detailed, professionally designed wooden toy box plans in PDF format. These paid plans often include enhanced features, such as cut lists and precise measurements.
Beyond Etsy, explore other online marketplaces offering a wider selection of plans, catering to diverse skill levels and aesthetic preferences. Invest in plans for modern designs with soft-close lids or two-tier chests.
Benefit from the expertise of experienced woodworkers, ensuring a smoother building process and a high-quality, lasting toy storage solution.
Specific Plan Examples & Features
Discover plans for modern toy boxes with soft-close lids, two-tier chests for enhanced organization, and simple book bin designs. PDF plans offer detailed instructions!
Explore ride-on toy integration plans, combining storage with playful functionality. Find easy-to-follow guides for building durable, kid-friendly wooden creations.
Modern Toy Box with Soft-Close Lid
Elevate your child’s room with a sleek, modern toy box featuring a sophisticated soft-close lid mechanism. PDF plans detail construction, ensuring safety and preventing pinched fingers.
These plans typically utilize plywood and pine, offering a balance of affordability and durability. Expect clear diagrams and material lists, guiding you through each step of the build.
Enjoy a stylish storage solution that complements contemporary décor, while prioritizing child safety with the inclusion of premium soft-close hinges.
Two-Tier Wooden Toy Chest Plans
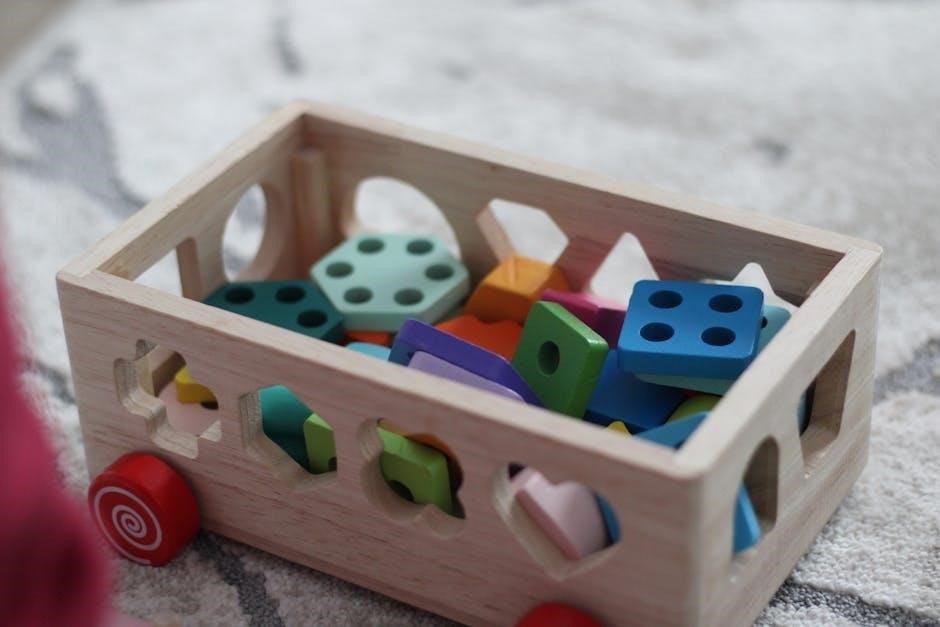
Maximize storage with two-tier wooden toy chest PDF plans, ideal for organizing a variety of toys. These plans often incorporate a hinged lid for easy access to both levels.
Expect detailed instructions for constructing a sturdy frame, utilizing common lumber like pine or plywood. The plans will guide you through building separate compartments within the chest.
Benefit from increased organization and space-saving design, perfect for smaller rooms, all achievable with readily available PDF plans and basic woodworking skills.
Simple & Easy Wooden Toy Box/Book Bin Plans
Discover beginner-friendly PDF plans for crafting a simple wooden toy box or book bin! These projects prioritize ease of construction, often requiring minimal tools and materials.
Expect straightforward designs utilizing basic cuts and assembly techniques, perfect for first-time woodworkers. Plans typically focus on a rectangular box shape with a hinged or removable lid.
Enjoy a quick and rewarding build, creating functional storage for toys or books for under $25, utilizing readily available PDF resources and common lumber.
Troubleshooting Common Issues
Address wood splintering with careful sanding and finishing. Ensure smooth lid operation by adjusting hinges and checking for obstructions during assembly.
Review PDF plans for accurate measurements and assembly steps to prevent common errors and achieve a polished final product.
Dealing with Wood Splintering
Prevent splintering by thoroughly sanding all wood surfaces before assembly, focusing on edges and corners. Utilize a high-grit sandpaper for a smoother finish, minimizing the risk of painful splinters for children.
Apply a wood conditioner to the grain, preparing it for staining or painting, further reducing splintering potential. Inspect the wood carefully, addressing any existing splinters before proceeding with the build, as detailed in your PDF plans.
Ensuring a Smooth Lid Operation
Achieve effortless lid movement by precisely aligning hinges according to your PDF plans. Install soft-close hinges to prevent slamming and protect little fingers, a crucial safety feature.
Lubricate hinges with silicone spray for reduced friction and a consistently smooth lift. Regularly check hinge screws for tightness, ensuring continued stability and preventing operational issues during use.
Cost Breakdown: Building a Wooden Toy Box
Expect material costs around $25-$50, utilizing common boards like 1x6s and plywood. Tool expenses vary; existing tools minimize costs, otherwise budget accordingly.
Material Costs
Estimating material expenses requires considering wood type and size. Plans often call for six 1x6x8 boards, one 2x3x8, four 1x3x8 pine boards, and a quarter sheet of plywood.
Budget approximately $25 to $50 for these basics, though hardwood selections will increase the price. Don’t forget hinges, handles, paint, and finishing supplies, adding $10-$30 to the total.
Careful planning and sourcing can optimize costs, making a beautiful, functional toy box surprisingly affordable!
Tool Costs (if purchasing)
Existing tool ownership significantly reduces project expenses. Essential tools include a saw, drill, and sander. If purchasing, a basic circular saw costs $50-$100, while a drill/driver combo ranges from $75-$150.
A sander, crucial for smooth finishes, can be found for $30-$80. Consider renting tools to minimize upfront investment, especially for infrequent use. Safety gear is also essential!
Total tool costs could range from $155 to $330, depending on quality and existing inventory.
Maintaining Your Wooden Toy Box
Regular cleaning with a damp cloth preserves the finish. Address minor damage promptly with wood filler and touch-up paint for lasting enjoyment!
Protect against moisture and sunlight to prevent warping or fading, ensuring years of reliable toy storage.
Cleaning and Care
Maintaining your wooden toy box is simple! Use a soft, damp cloth to wipe down surfaces regularly, removing dust and spills promptly. Avoid harsh chemicals or abrasive cleaners that could damage the finish.
For stubborn marks, a mild soap solution can be used, followed by a clean, dry cloth. Periodically inspect for loose screws or hinges and tighten as needed, ensuring continued safe operation.
Proper care extends the life and beauty of your handcrafted toy storage solution!
Repairing Minor Damage
Addressing small scratches or dents is straightforward. Use wood filler to repair minor imperfections, allowing it to dry completely before sanding smooth. For chipped paint, lightly sand the area and reapply a matching finish.
Loose joints can be reinforced with wood glue and clamps, ensuring a secure bond. Regular inspection and prompt repairs maintain the toy box’s structural integrity.
Simple fixes keep your creation looking its best for years!

Portable Shop Considerations
Building in limited spaces, like a 12×16 portable building, is achievable! Prioritize efficient tool organization and consider moving tools as needed for projects.
Building a Toy Box in a Small Space
Constructing a toy box within a compact workshop demands strategic planning. Optimize your limited area by utilizing portable tool chests and a modular workbench setup. Consider pre-cutting wood pieces outside the shop to minimize sawdust accumulation and maximize usable space.
Focus on simpler wooden toy box plans requiring fewer tools and movements. Efficient workflow is key; assemble components directly where space allows, avoiding unnecessary relocation of materials.
Transporting Tools and Materials
Efficiently moving tools and lumber for your wooden toy box plans requires organization. Utilize sturdy, stackable tool chests and consider a compact trailer or truck bed setup. Secure all materials during transit to prevent shifting and damage.
Pre-cut wood when feasible to reduce transport volume and workshop clutter. Prioritize lightweight, portable power tools for on-site assembly, streamlining the building process.
Ride-On Toy Integration
Combine toy storage with fun! Explore DIY ride-on toy plans alongside wooden toy box plans, creating a dual-purpose play area for children.
Ensure safety with sturdy construction and secure attachments, offering both enjoyment and peace of mind.
Combining Toy Box with Ride-On Toy Plans
Imagine a play space where storage seamlessly blends with adventure! Wooden toy box plans can be cleverly integrated with DIY ride-on toy designs, maximizing space and sparking creativity.
Consider building a toy chest around a ride-on base, or designing a detachable ride-on component that stores neatly within the box when not in use.
Free plans often inspire these hybrid projects, offering a unique and engaging solution for active little ones, fostering both organization and imaginative play.
Safety Features for Ride-On Toys
Prioritize child safety when combining wooden toy box plans with ride-on designs! Ensure sturdy construction, rounded edges, and non-toxic finishes for all components.
Implement features like low centers of gravity, secure seating, and smooth-rolling wheels to prevent tipping or falls during playtime. Regularly inspect for loose parts.
Consider adding protective padding and always supervise young children while they are enjoying their combined toy box and ride-on creations.
Resources and Further Learning
Expand your woodworking skills through online forums and communities! Discover helpful video tutorials for wooden toy box plans and DIY projects.
Access expert advice, share creations, and find inspiration for customizing your PDF-based toy box builds with fellow enthusiasts.
Woodworking Forums and Communities
Engage with passionate woodworkers online to elevate your wooden toy box plans projects! Explore dedicated forums where you can ask questions, share progress, and receive valuable feedback on your DIY builds.
Connect with experienced craftspeople who can offer guidance on selecting materials, interpreting PDF plans, and troubleshooting common issues. Discover inspiring projects and learn new techniques from a supportive community.
Benefit from collective knowledge and unlock creative solutions for customizing your toy box designs, ensuring a rewarding and successful woodworking experience!
Online Video Tutorials
Visualize your wooden toy box plans coming to life with comprehensive online video tutorials! Watch skilled woodworkers demonstrate each step, from cutting wood to attaching hinges, making complex PDF plans easier to understand.
Learn valuable techniques and gain confidence through visual guidance, perfect for beginners or those seeking to refine their woodworking skills. Discover channels showcasing modern designs and soft-close lid installations.
Access a wealth of free content and accelerate your project completion with clear, concise, and engaging video instructions!